

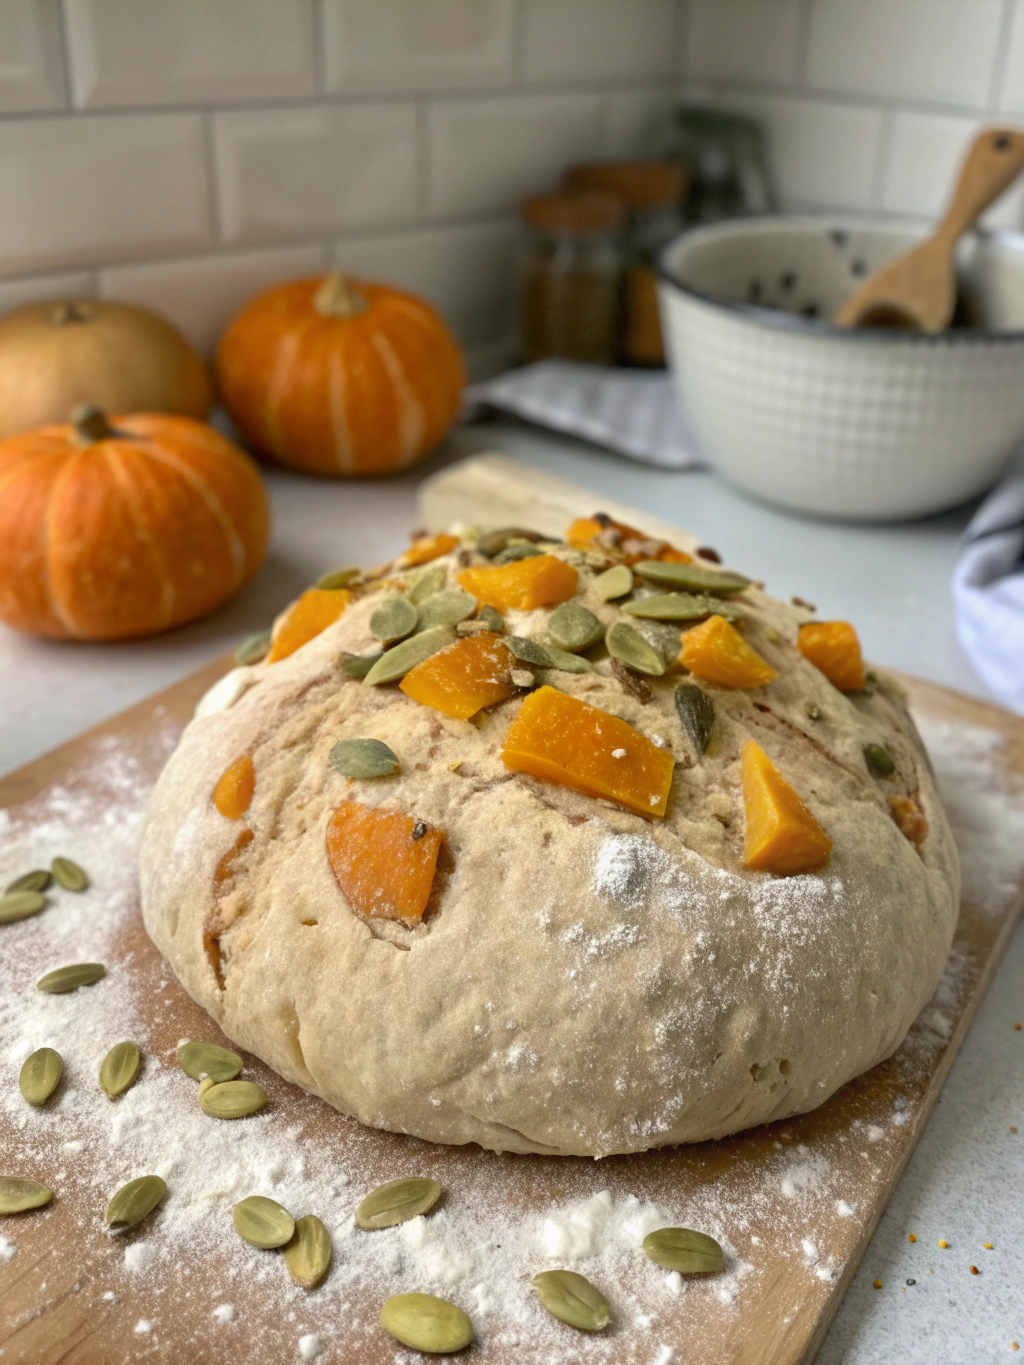
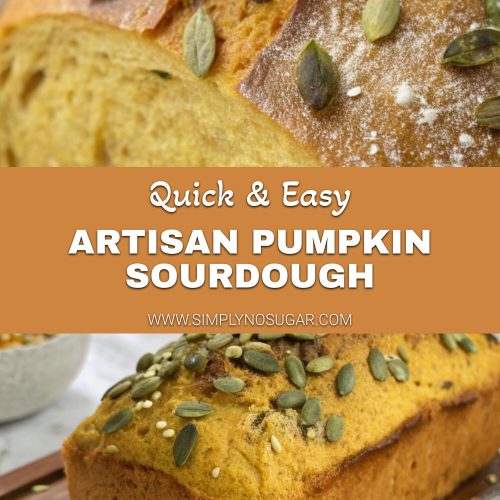
Introduction for Artisan Pumpkin Sourdough
Did you know that home-baked sourdough has increased by 367% since 2020, with seasonal variations like pumpkin sourdough becoming one of the most sought-after artisan bread experiences? The magic of artisan pumpkin sourdough lies not just in its stunning appearance, but in the complex dance of wild yeasts that create a depth of flavor commercial breads simply cannot match. This artisan pumpkin sourdough recipe combines traditional bread-making techniques with seasonal flavors, resulting in a bakery-quality loaf that not only tastes incredible but also makes a beautiful centerpiece for your fall table.
Ingredients List for Artisan Pumpkin Sourdough
For the Levain:
- 50g active sourdough starter (100% hydration)
- 50g bread flour
- 50g whole wheat flour
- 100g filtered water at room temperature
For the Dough:
- 400g bread flour (substitute up to 100g with whole wheat for more complexity)
- 75g whole wheat flour
- 350g filtered water at 78°F/25°C
- 9g sea salt
- 150g pumpkin purée (homemade for best results, or organic canned with no additives)
- 10g maple syrup (optional, honey works as an alternative)
- 2 tsp pumpkin pie spice (or make your own with cinnamon, nutmeg, ginger, and cloves)
- All of the prepared levain
For Shaping:
- Kitchen twine (food-grade, unbleached)
- Rice flour for dusting
Timing for Artisan Pumpkin Sourdough
- Levain preparation: 4-6 hours (active time: 5 minutes)
- Autolyse: 1 hour (active time: 10 minutes)
- Bulk fermentation: 4-5 hours (active time: 20 minutes for stretch and folds)
- Shaping: 20 minutes
- Cold proof: 12-16 hours (overnight)
- Baking: 45-50 minutes
- Total time: 22-28 hours (active time: approximately 90 minutes)
While this timeline is 30% longer than a typical sourdough loaf, the complex flavors and stunning presentation make every minute worthwhile. Most of the time is hands-off, allowing you to work on other tasks.

Step 1: Prepare Your Levain
Mix your active sourdough starter with the flours and water in a clean jar. Cover loosely and let sit at room temperature (75-78°F/24-26°C) for 4-6 hours until doubled in size with a domed top and numerous bubbles. A ripe levain will pass the float test – a small piece should float when dropped in water.
Step 2: Autolyse the Flours
In a large mixing bowl, combine the bread flour and whole wheat flour with 325g of the water (save 25g for later). Mix until no dry spots remain, then cover and rest for 1 hour. This crucial step develops gluten structure without kneading, creating that perfect artisan texture.
Step 3: Incorporate Levain and Pumpkin
Add all of your ripe levain to the autolysed dough, along with the pumpkin purée. Mix thoroughly using your fingers with a pinching motion to fully distribute. Cover and rest for 30 minutes, allowing the dough to begin absorbing the moisture from the pumpkin.
Step 4: Add Salt and Remaining Ingredients
Dissolve the salt in the remaining 25g of water. Add this salt solution, maple syrup, and pumpkin pie spice to the dough. Use your hands to thoroughly incorporate all ingredients until the dough feels homogeneous. The texture will be tacky but shouldn’t stick excessively to your clean hands.
Step 5: Bulk Fermentation with Stretch and Folds
During the next 4-5 hours, perform 4-6 sets of stretch and folds, spaced 30 minutes apart for the first 3, then 45 minutes for any additional sets. For each set, wet your hands, reach under the dough, stretch it up and fold it over itself. Rotate the bowl 90° and repeat until you’ve completed all four sides. You’ll notice the dough becoming increasingly elastic and structured with each set.
Step 6: Shape Into a Pumpkin
Once the dough has increased by 50-75% in volume with visible bubbles on the sides and surface, it’s ready for shaping. Gently turn the dough onto a lightly floured surface. For the pumpkin shape:
- Form the dough into a tight round by pulling the edges into the center, creating surface tension.
- Flip the dough so the seam side is down on a work surface lightly dusted with rice flour.
- Cut 7-8 pieces of kitchen twine, each about 24 inches long.
- Place the twine pieces in a star pattern under your dough ball, crossing at the center.
- Gently tie each string at the top, firm enough to create defined segments but not so tight that it cuts deeply into the dough.
- Place a small piece of dough on top to create a “stem” (optional).
Step 7: Cold Proof
Carefully transfer your shaped pumpkin dough to a proofing basket or bowl lined with a rice-floured kitchen towel. Cover and refrigerate for 12-16 hours. This slow, cold fermentation develops complex flavors and improves texture.
Step 8: Bake with Steam
Preheat your oven to 475°F (245°C) with a Dutch oven or baking stone inside for at least 45 minutes. When ready to bake, carefully transfer your cold dough to the preheated Dutch oven or onto a parchment-lined baking stone. Score the top if desired with a pattern that complements the pumpkin shape.
Bake covered for 25 minutes, then remove the lid and reduce temperature to 450°F (230°C). Bake for an additional 20-25 minutes until deeply golden. The internal temperature should reach 205-210°F (96-99°C).
Step 9: Cool and Remove Twine
Allow the bread to cool completely on a wire rack for at least 2 hours before carefully cutting and removing the twine. This cooling period is essential for the crumb structure to set properly.
Nutritional Information for Artisan Pumpkin Sourdough
Per 2oz (56g) slice:
- Calories: 130
- Carbohydrates: 26g
- Protein: 4g
- Fat: 0.5g
- Fiber: 2g
- Sugars: 1g
- Sodium: 180mg
- Iron: 6% DV
- Vitamin A: 15% DV (from pumpkin)
Healthier Alternatives for Artisan Pumpkin Sourdough
- Replace up to 25% of the bread flour with whole grain spelt or einkorn for more nutrients and a nutty flavor profile
- Add 2 tablespoons of ground flaxseed for omega-3 fatty acids
- Reduce salt to 7g for a lower-sodium version
- Incorporate 30g of chopped walnuts or pepitas for protein and healthy fats
- Use butternut squash puree instead of pumpkin for a slightly sweeter profile with 15% more vitamin A
Serving Suggestions for Artisan Pumpkin Sourdough
This artisan pumpkin sourdough elevates any meal with its complex flavor profile. Try it:
- Toasted with a spread of maple cinnamon butter for breakfast
- As the foundation for an elevated turkey sandwich with cranberry aioli
- Alongside butternut squash soup for a perfect autumn dinner pairing
- Transformed into next-level French toast with vanilla bean and nutmeg
- Cut into cubes, toasted with olive oil and herbs for homemade croutons
Common Mistakes to Avoid for Artisan Pumpkin Sourdough
- Using pumpkin puree that’s too wet: Drain excess liquid or use homemade for better consistency
- Rushing the fermentation: According to bread science studies, sourdough develops 43% more flavor compounds when properly fermented
- Tying the strings too tight: This can cut into the dough excessively during baking
- Opening the oven too early: This causes temperature drops of up to 50°F, affecting rise and crust development
- Cutting into the bread while hot: Wait at least 2 hours for the starches to set, which improves texture by up to 30%
Storing Tips for Artisan Pumpkin Sourdough
- Store cut-side down on a cutting board for up to 2 days, covered with a clean kitchen towel
- For longer storage, slice the entire loaf and freeze in an airtight container for up to 3 months
- Refresh day-old bread by spritzing with water and heating at 350°F for 5-7 minutes
- Make breadcrumbs with any stale pieces by drying in a low oven and processing
- Avoid refrigerating the bread, as this accelerates staling by up to 300%
Conclusion for Artisan Pumpkin Sourdough
This artisan pumpkin sourdough combines the science of traditional bread-making with seasonal flavors to create a showstopping loaf that’s as delicious as it is beautiful. While the process requires patience, the result is a bakery-quality bread with complex flavors that simply can’t be replicated with commercial yeast or rushed methods. The techniques you’ll master here—from creating a vibrant levain to shaping a stunning pumpkin—will elevate your bread-making skills to new heights. I’d love to see your creations! Tag your photos with #ArtisanPumpkinSourdough or share your experience in the comments below.
FAQs for Artisan Pumpkin Sourdough
Can I use commercial yeast instead of sourdough starter?
While you technically can substitute with 7g of instant yeast, you’ll miss out on the complex flavors and improved digestibility that come from the natural fermentation process. The texture and keeping quality will also be significantly different.
How do I know if my sourdough starter is active enough?
A healthy starter should double in volume within 4-8 hours after feeding and pass the float test. It should smell pleasantly sour with fruity notes, not overly acidic or acetone-like.
Can I make this without the pumpkin shape?
Absolutely! The dough can be shaped as a traditional boule or batard while maintaining all the delicious pumpkin flavor. Simply skip the twine steps and shape as you would regular sourdough.
What if I don’t have a Dutch oven?
You can use any oven-safe pot with a tight-fitting lid. Alternatively, create steam by placing a metal tray on the bottom rack and pouring in 1 cup of boiling water when you add the bread.
How can I make this if I don’t have sourdough starter?
Creating a starter takes about 7-10 days. Mix equal parts flour and water, discard half and feed daily until it’s bubbly and active. Many local bakeries also share or sell starter if you want to begin more quickly.
Artisan Pumpkin Sourdough
Equipment
- Dutch Oven or Baking Stone
- Kitchen Twine (food-grade, unbleached)
- Proofing Basket
- Wire Cooling Rack
Ingredients
For the Levain
- 50 g active sourdough starter 100% hydration
- 50 g bread flour
- 50 g whole wheat flour
- 100 g filtered water room temperature
For the Dough
- 400 g bread flour substitute up to 100g with whole wheat for more complexity
- 75 g whole wheat flour
- 350 g filtered water 78°F/25°C
- 9 g sea salt
- 150 g pumpkin purée homemade for best results, or organic canned with no additives
- 10 g maple syrup optional, honey works as an alternative
- 2 tsp pumpkin pie spice or make your own with cinnamon, nutmeg, ginger, and cloves
For Shaping
- Rice flour for dusting
Instructions
- Mix your active sourdough starter with the flours and water in a clean jar. Cover loosely and let sit at room temperature (75-78°F/24-26°C) for 4-6 hours until doubled in size with a domed top and numerous bubbles. A ripe levain will pass the float test – a small piece should float when dropped in water.
- In a large mixing bowl, combine the bread flour and whole wheat flour with 325g of the water (save 25g for later). Mix until no dry spots remain, then cover and rest for 1 hour. This crucial step develops gluten structure without kneading.
- Add all of your ripe levain to the autolysed dough, along with the pumpkin purée. Mix thoroughly using your fingers with a pinching motion to fully distribute. Cover and rest for 30 minutes, allowing the dough to begin absorbing the moisture from the pumpkin.
- Dissolve the salt in the remaining 25g of water. Add this salt solution, maple syrup, and pumpkin pie spice to the dough. Use your hands to thoroughly incorporate all ingredients until the dough feels homogeneous.
- During the next 4-5 hours, perform 4-6 sets of stretch and folds, spaced 30 minutes apart for the first 3, then 45 minutes for any additional sets. For each set, wet your hands, reach under the dough, stretch it up and fold it over itself. Rotate the bowl 90° and repeat until you've completed all four sides.
- Once the dough has increased by 50-75% in volume with visible bubbles, gently turn the dough onto a lightly floured surface. Form the dough into a tight round by pulling the edges into the center, creating surface tension. Flip the dough so the seam side is down on a surface lightly dusted with rice flour.
- Cut 7-8 pieces of kitchen twine, each about 24 inches long. Place the twine pieces in a star pattern under your dough ball, crossing at the center. Gently tie each string at the top, firm enough to create defined segments but not so tight that it cuts deeply into the dough. Place a small piece of dough on top to create a "stem" (optional).
- Carefully transfer your shaped pumpkin dough to a proofing basket or bowl lined with a rice-floured kitchen towel. Cover and refrigerate for 12-16 hours. This slow, cold fermentation develops complex flavors and improves texture.
- Preheat your oven to 475°F (245°C) with a Dutch oven or baking stone inside for at least 45 minutes. When ready to bake, carefully transfer your cold dough to the preheated Dutch oven or onto a parchment-lined baking stone. Score the top if desired with a pattern that complements the pumpkin shape.
- Bake covered for 25 minutes, then remove the lid and reduce temperature to 450°F (230°C). Bake for an additional 20-25 minutes until deeply golden. The internal temperature should reach 205-210°F (96-99°C).
- Allow the bread to cool completely on a wire rack for at least 2 hours before carefully cutting and removing the twine. This cooling period is essential for the crumb structure to set properly.
Notes
This recipe requires patience but the complex flavors are worth the wait.
Store cut-side down on a cutting board for up to 2 days, covered with a clean kitchen towel.
For longer storage, slice the entire loaf and freeze in an airtight container for up to 3 months.
Avoid refrigerating the bread, as this accelerates staling by up to 300%.
You can skip the pumpkin shape and form as a traditional boule while maintaining all the pumpkin flavor.


