Introduction for Traditional Hard Apple Cider
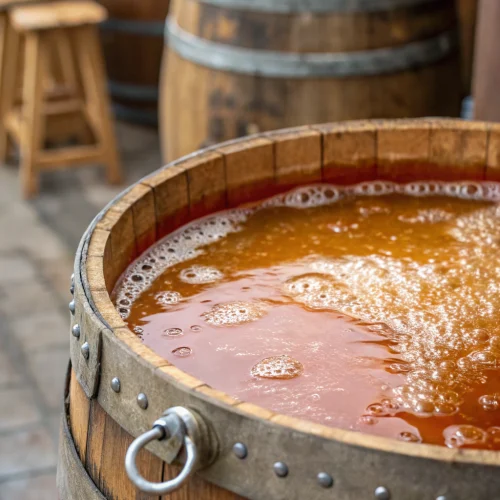
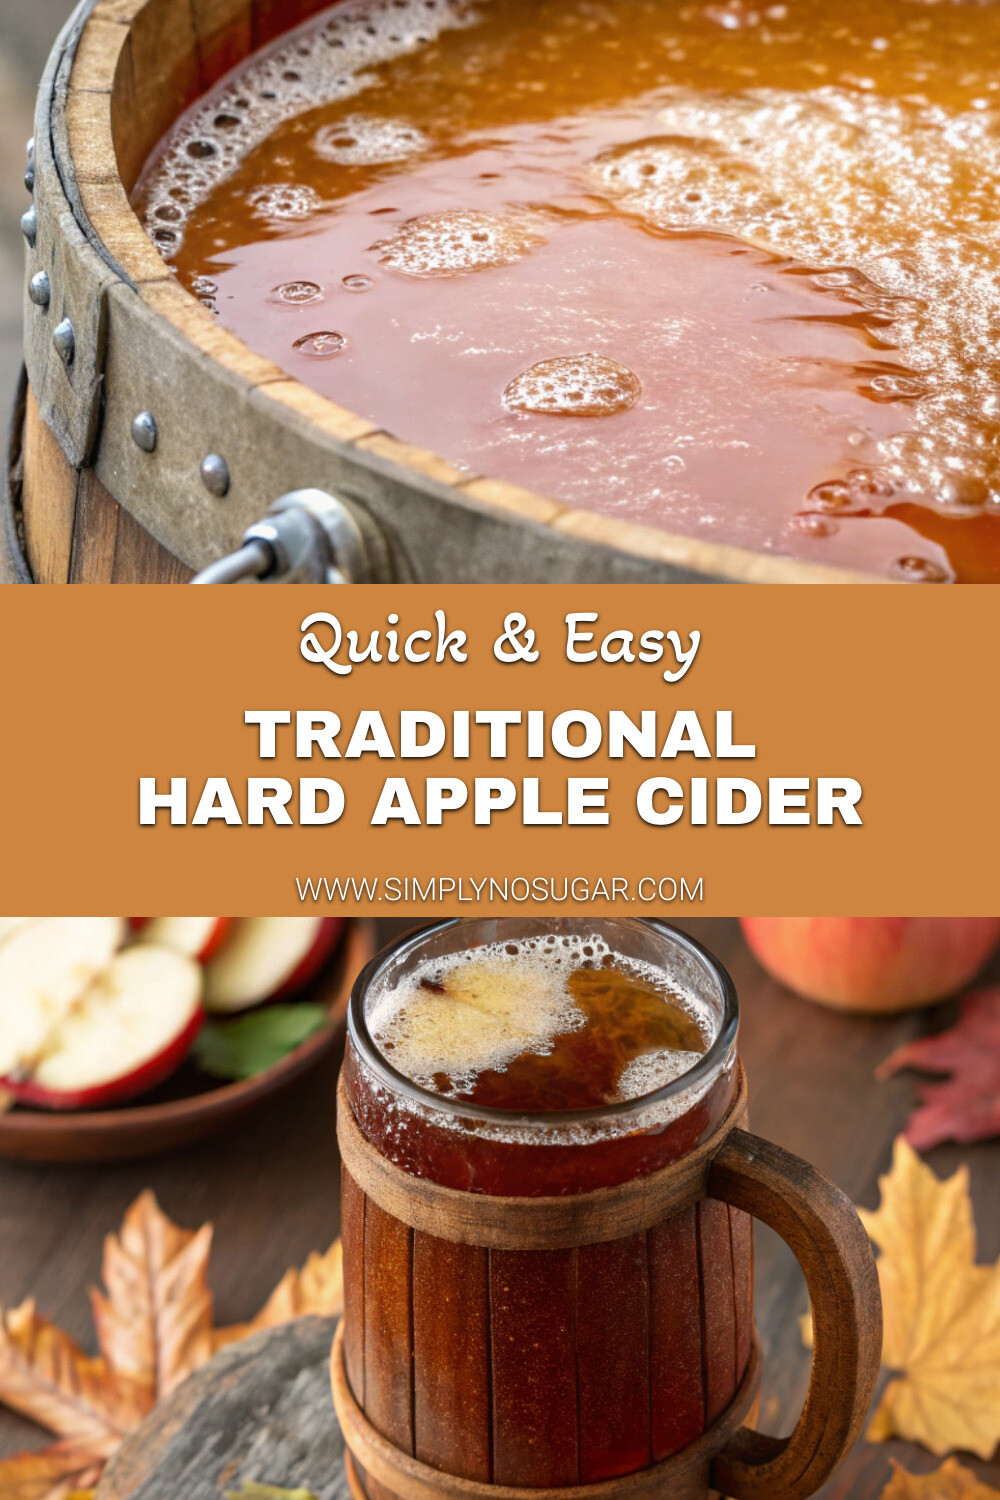
Did you know that traditional hard apple cider dates back thousands of years, with evidence of fermented apple beverages found in ancient civilizations across Europe and Asia? While modern commercial ciders often contain added sugars and preservatives, making your own traditional hard apple cider at home allows you to experience this historic beverage in its purest form. The simple process of fermenting fresh apple juice into a complex, slightly alcoholic beverage remains largely unchanged over centuries, making traditional hard apple cider one of the most authentic homebrewing experiences available today.
Creating your own homemade fermented apple cider connects you with generations of cider makers who relied on nothing more than apples, time, and natural fermentation. This recipe guides you through crafting a delicious traditional hard apple cider using simple techniques that anyone can master.
Ingredients List for Traditional Hard Apple Cider
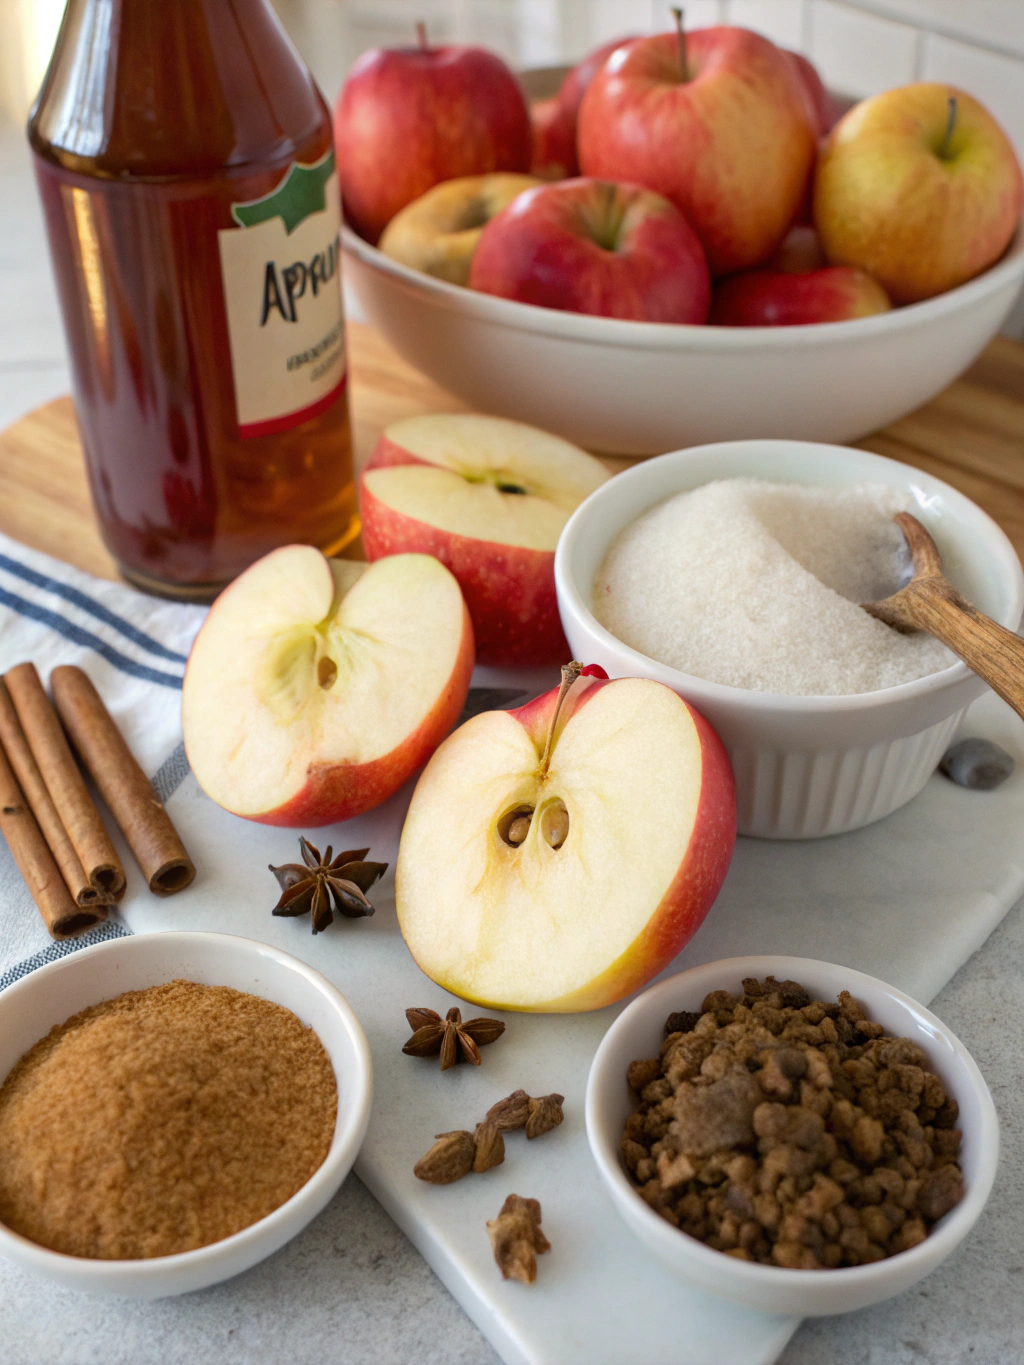
- 1 gallon (3.8 L) fresh apple cider or juice (unpasteurized and preservative-free)
- 1 packet champagne yeast or cider yeast (about 5 grams)
- 1/4 teaspoon yeast nutrient (optional but recommended)
- 2-3 tablespoons honey or maple syrup (optional, for added sweetness)
- 1 cinnamon stick (optional, for flavor)
- 3-4 whole cloves (optional, for flavor)
Substitution Options:
- Apple Juice: If unpasteurized cider is unavailable, use preservative-free apple juice (check that it doesn’t contain potassium sorbate or sodium benzoate, which prevent fermentation).
- Yeast: Ale yeast or wine yeast can substitute for champagne yeast, though each will produce slightly different flavor profiles.
- Sweeteners: Brown sugar or raw cane sugar can replace honey or maple syrup.
- Spices: Star anise, cardamom pods, or orange peel can add interesting flavor variations.
Timing for Traditional Hard Apple Cider
- Preparation Time: 30 minutes (gathering supplies and initial setup)
- Primary Fermentation: 7-14 days (dependent on ambient temperature; warmer environments ferment faster)
- Secondary Fermentation/Aging: 14-30 days (for improved clarity and flavor development)
- Total Time: 21-44 days (significantly less hands-on time than commercial production, which can take months)
Step-by-Step Instructions for Traditional Hard Apple Cider
Step 1: Sanitize All Equipment
Thoroughly clean and sanitize your fermentation vessel (glass carboy or food-grade plastic bucket), airlock, bung, funnel, and any other equipment that will contact your cider. Contamination is the primary cause of failed batches, so don’t rush this crucial step. A solution of one tablespoon of unscented bleach per gallon of water works well—just remember to rinse thoroughly with clean water afterward.
Step 2: Prepare the Apple Juice
If using store-bought juice, check that it’s preservative-free. For the most authentic traditional hard apple cider, fresh-pressed juice from a mix of sweet, tart, and tannic apples creates the most complex flavor profile. If pressing your own apples, consider using varieties like Winesap, Granny Smith, Golden Delicious, and Honeycrisp for a balanced cider.
Step 3: Prepare the Yeast
Follow the instructions on your yeast packet for proper activation. Typically, this involves rehydrating the yeast in warm water (about 104°F/40°C) for 15-20 minutes before adding it to the juice. This step significantly improves fermentation success rates by ensuring the yeast cells are active and ready to begin converting sugar to alcohol.
Step 4: Start the Fermentation
Pour the apple juice into your sanitized fermentation vessel, leaving about 2 inches of headspace at the top. Add the yeast nutrient if using, then the prepared yeast. If you’re using optional spices or sweeteners, add them now. Seal the vessel with the airlock and bung to allow carbon dioxide to escape while preventing outside air from entering.
Step 5: Primary Fermentation
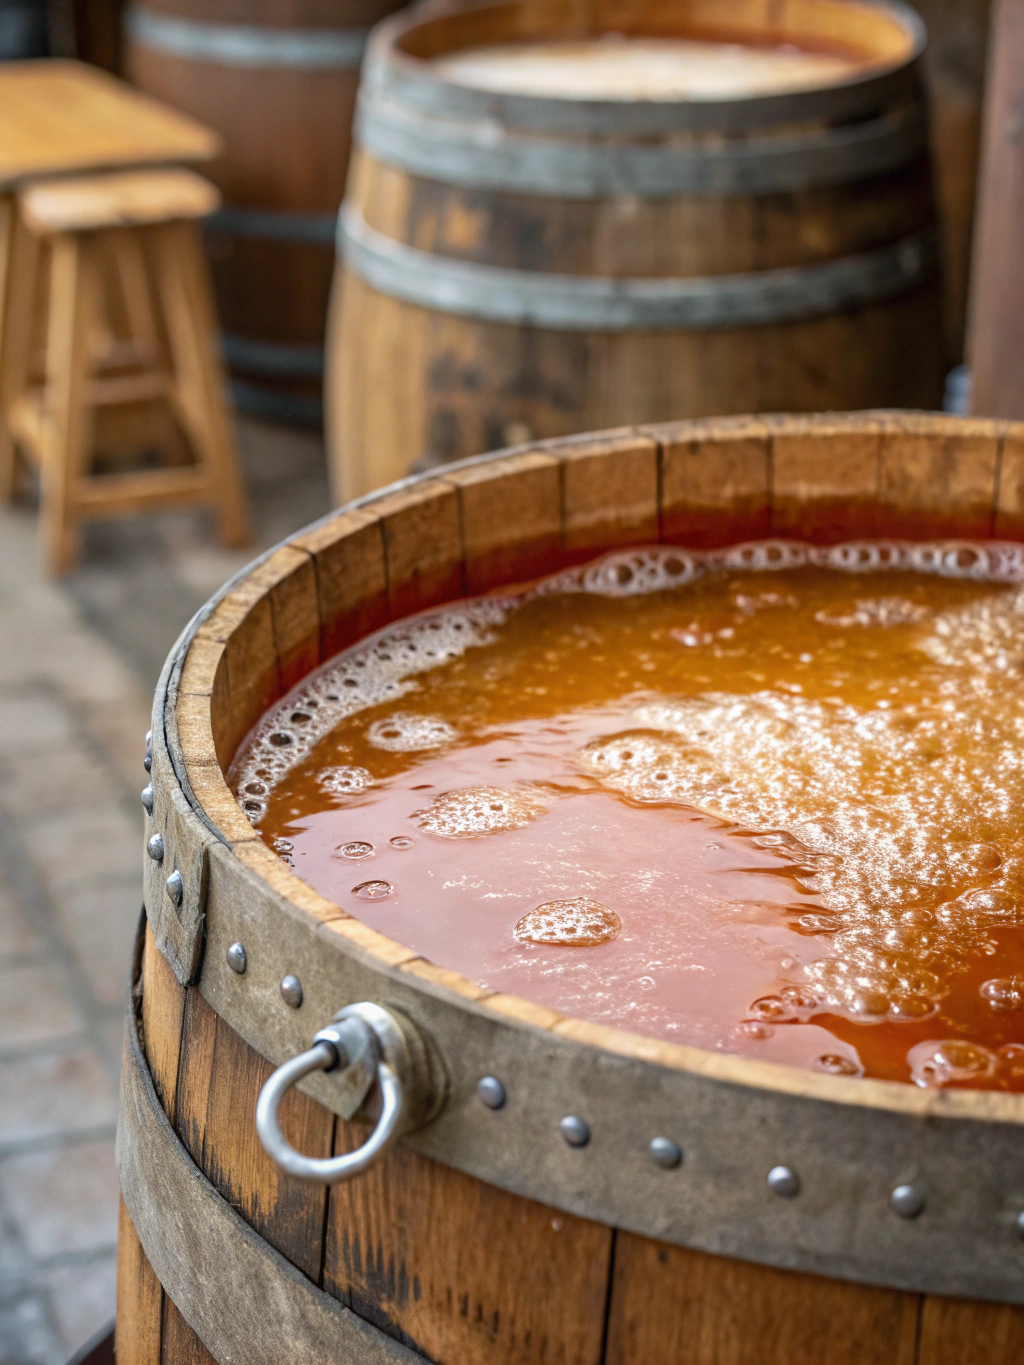
Place the vessel in a dark location with a consistent temperature between 65-75°F (18-24°C). Within 24-48 hours, you should see bubbling in the airlock, indicating active fermentation. This primary fermentation will continue for 7-14 days until the bubbling significantly slows or stops.
Step 6: Secondary Fermentation (Optional but Recommended)
After primary fermentation, carefully siphon the cider into a clean, sanitized carboy, leaving behind the sediment (lees) at the bottom. This “racking” process helps create a clearer final product with more refined flavors. Allow the cider to age for another 2-4 weeks, which greatly improves clarity and taste complexity.
Step 7: Bottling Your Cider
When fermentation is complete and the cider has cleared to your liking, it’s ready for bottling. For still (non-carbonated) cider, simply transfer it to sanitized bottles and seal. For sparkling cider, add 1-2 teaspoons of sugar per bottle before sealing to create natural carbonation. Store bottles in a cool, dark place.
Nutritional Information for Traditional Hard Apple Cider
Per 8 oz (240 ml) serving:
- Calories: Approximately 120-150 kcal (varies based on residual sugar content)
- Alcohol Content: Typically 4.5-7% ABV (alcohol by volume)
- Carbohydrates: 10-15g (mostly natural sugars)
- Sugars: 8-12g (varies with fermentation completeness)
- Protein: <1g
- Fat: 0g
- Fiber: 0g
Traditional hard apple cider contains beneficial antioxidants from apples, including polyphenols that may help reduce inflammation and support heart health. The fermentation process creates probiotic compounds that can aid digestion.
Healthier Alternatives for Traditional Hard Apple Cider
- Lower Alcohol Content: For a lighter option, dilute the finished cider with a small amount of fresh apple juice before serving.
- Lower Sugar Version: Let fermentation continue longer to create a drier cider with less residual sugar.
- Non-Alcoholic Version: Prepare a “quick cider” by combining fresh apple juice with a tablespoon of apple cider vinegar (with the mother) and fermenting for just 2-3 days, then refrigerating to halt alcohol development.
- Enhanced Nutrition: Add 1-2 tablespoons of raw apple cider vinegar to the finished product for additional probiotic benefits.
Serving Suggestions for Traditional Hard Apple Cider
- Serve chilled but not ice-cold (around 45-50°F/7-10°C) to fully appreciate the complex flavors.
- Pour into tulip-shaped glasses to concentrate the aromas and enhance the tasting experience.
- Pair with sharp cheddar cheese, roast pork, or hearty stews to complement the cider’s acidity.
- Create a refreshing summer drink by mixing equal parts cider and sparkling water with a squeeze of fresh lemon.
- For fall gatherings, serve warmed with a cinnamon stick and star anise for a comforting mulled cider.
Common Mistakes to Avoid for Traditional Hard Apple Cider
- Using Juice with Preservatives: Preservatives like potassium sorbate will prevent fermentation completely.
- Poor Sanitization: The most common cause of contaminated batches is inadequate cleaning and sanitizing.
- Inconsistent Temperature: Large temperature fluctuations can stress yeast and create off-flavors.
- Exposure to Oxygen: After initial fermentation, minimize the cider’s contact with air to prevent vinegar production.
- Bottling Too Early: Premature bottling before fermentation completes can create excessive pressure and exploding bottles.
Storing Tips for Traditional Hard Apple Cider
- Store bottled cider upright in a cool, dark place between 50-65°F (10-18°C) for optimal aging.
- Properly sealed cider will continue to improve for 6-12 months, developing more complex flavors over time.
- Refrigerate opened bottles and consume within 5-7 days for the best flavor.
- For long-term storage, pasteurized cider (heated to 160°F/71°C for 10 minutes before bottling) will last 1-2 years.
- Label your bottles with the date and any special ingredients to track aging and flavor development.
Conclusion for Traditional Hard Apple Cider
Creating traditional hard apple cider at home connects you with centuries of brewing tradition while giving you complete control over ingredients and flavor. This simple fermentation process transforms ordinary apple juice into a complex, refreshing beverage with natural carbonation and subtle alcohol content. The patience required is well rewarded with a uniquely personal cider that showcases the natural essence of apples.
Whether you’re a first-time brewer or experienced fermenter, this traditional method offers endless possibilities for customization while maintaining the authentic character that makes hard cider a beloved beverage worldwide. Try making your own batch today, and discover the satisfaction of crafting this historic drink in your own kitchen!
FAQs for Traditional Hard Apple Cider
Can I use apples from my backyard tree?
Absolutely! Backyard apples often make excellent cider, especially when mixed with different varieties for complexity. Just ensure they’re ripe and free from signs of disease or significant damage.
How do I know when fermentation is complete?
Fermentation is typically complete when the airlock bubbling stops or dramatically slows (less than one bubble per minute), and the cider begins to clear. For certainty, you can use a hydrometer to measure the specific gravity, which should remain stable over several days.
Is homemade hard cider safe to drink?
Yes, when properly prepared. The fermentation environment is inhospitable to harmful bacteria due to the alcohol content and acidic nature of apples. However, always use clean equipment and trust your senses—if it smells or tastes unpleasant, don’t consume it.
Can I make a sweeter cider?
For a sweeter cider, you can either halt fermentation early (by refrigeration or pasteurization) or add non-fermentable sweeteners like xylitol or stevia after fermentation is complete. Adding regular sugar after fermentation will restart fermentation unless the yeast is neutralized.
How long before my cider is ready to drink?
While technically drinkable after primary fermentation (1-2 weeks), traditional hard apple cider significantly improves with 1-3 months of aging. Patience yields a clearer, more flavorful final product.

Traditional Hard Apple Cider
Equipment
- Glass Carboy or Food-Grade Plastic Bucket
- Airlock and Bung
- Funnel
- Siphon
- Bottles for Storage
- Sanitizing Solution
Ingredients
Main Ingredients
- 1 gallon apple cider or juice unpasteurized and preservative-free
- 1 packet champagne yeast or cider yeast about 5 grams
- 1/4 tsp yeast nutrient optional but recommended
Optional Flavorings
- 2-3 tbsp honey or maple syrup for added sweetness
- 1 cinnamon stick for flavor
- 3-4 whole cloves for flavor
Instructions
- Thoroughly clean and sanitize your fermentation vessel (glass carboy or food-grade plastic bucket), airlock, bung, funnel, and any other equipment that will contact your cider. A solution of one tablespoon of unscented bleach per gallon of water works well—rinse thoroughly with clean water afterward.
- Check that your apple juice or cider is preservative-free. If pressing your own apples, consider using a mix of sweet, tart, and tannic varieties like Winesap, Granny Smith, Golden Delicious, and Honeycrisp for a balanced flavor profile.
- Rehydrate the yeast in warm water (about 104°F/40°C) for 15-20 minutes before adding it to the juice, following the instructions on your yeast packet.
- Pour the apple juice into your sanitized fermentation vessel, leaving about 2 inches of headspace at the top. Add the yeast nutrient if using, then the prepared yeast. Add optional spices or sweeteners if desired.
- Seal the vessel with the airlock and bung to allow carbon dioxide to escape while preventing outside air from entering.
- Place the vessel in a dark location with a consistent temperature between 65-75°F (18-24°C). Primary fermentation will continue for 7-14 days until the bubbling significantly slows or stops.
- After primary fermentation, carefully siphon the cider into a clean, sanitized carboy, leaving behind the sediment (lees) at the bottom. Allow the cider to age for another 2-4 weeks for improved clarity and flavor development.
- When fermentation is complete and the cider has cleared to your liking, transfer it to sanitized bottles. For still cider, simply seal bottles. For sparkling cider, add 1-2 teaspoons of sugar per bottle before sealing to create natural carbonation.
- Store bottles in a cool, dark place. The cider will continue to improve for 6-12 months, developing more complex flavors over time.


